
Make the McKenzie Connection!
Make the McKenzie Connection!
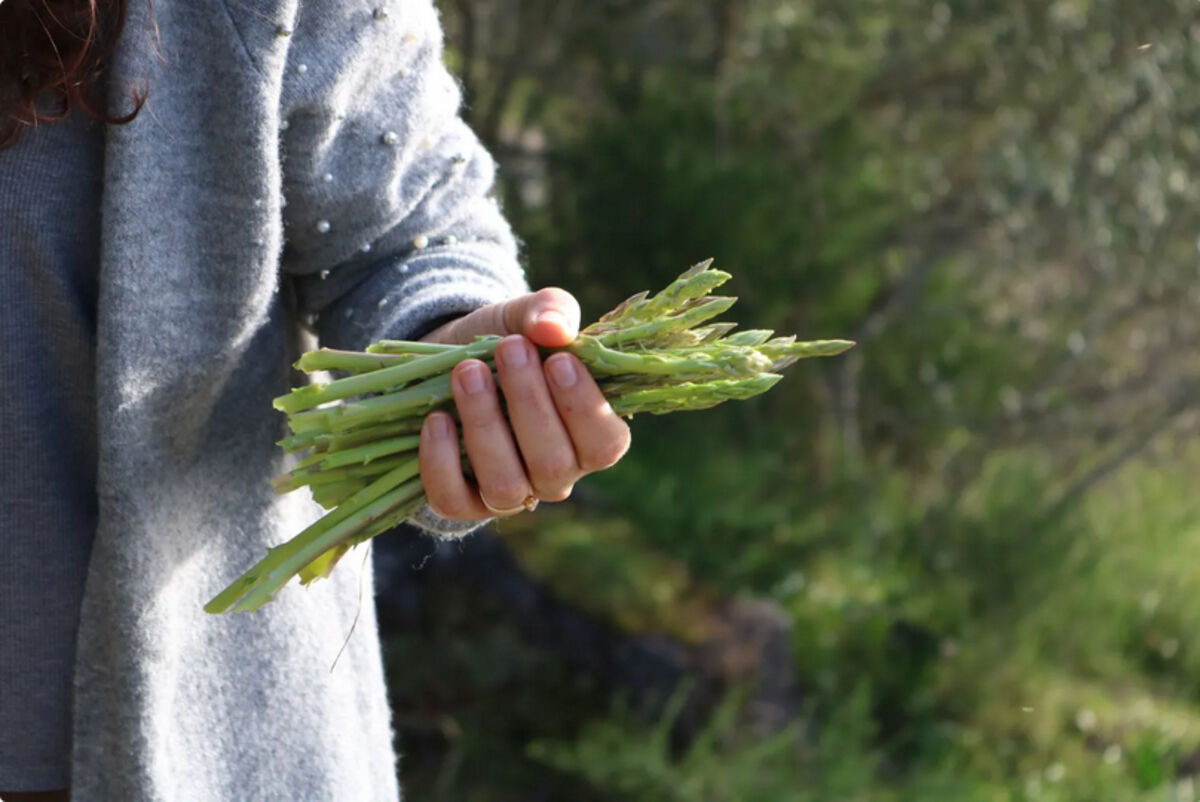
Growing asparagus requires patience—from planting to harvest, it takes two to three years—but the wait is well worth the reward.
Homegrown asparagus is one of the earliest vegetables of spring. Its quality is much better than store-bought spears and less expensive. Once established, this vegetable is easy to grow. And asparagus is beautiful. A member of the lily family, its fern-like foliage turns from green to gold in fall and can be a backdrop to chrysanthemums or other late-season flowers.
Oregon State University Extension Service horticulturists say preparing an asparagus bed properly will reward you for decades.
Asparagus is a hardy perennial and should be planted as soon as the soil can be prepared correctly in the spring. Usually, asparagus is started from 1-year-old plants rather than from seed. The plants you purchase in early spring have dormant crowns (no leaves) and look like an octopus, with long fleshy roots extending from the crown. Avoid buying crowns that are dried out or have rotten areas. If you can’t plant the crowns immediately, keep them cool and moist until you can get them in the ground.
Choose a site for the asparagus in full sun. Foliage will reach 5 to 6 feet during the summer, so place your asparagus bed where it won’t shade out smaller plants. Good soil preparation is a key to success. Digging deeply to remove weeds and amend the soil with plenty of organic matter is important. Asparagus will not grow well in heavy, poorly drained soils and doesn’t compete well with weeds. Prepare the growing site to a depth of at least 12 inches and add a general slow-release fertilizer, Check the pH with a do-it-yourself test from a garden center or a laboratory, and add lime if you soil is acidic.
Plant your asparagus crowns into the prepared bed about three to four weeks before the last frost date. After amending the soil, dig a trench about 6 inches deep and place the crowns at the bottom about 12 inches apart. Place the bud pointing up, spread the roots, and cover the crowns with 2 inches of the soil from the bed. As the spears lengthen through the spring, fill the trench with soil, exposing the tips. Keep the soil moisture consistent through the first year to establish the asparagus crowns.
Starting from seed is less common but can be a less expensive way to make an asparagus bed. Seed-started asparagus will take an extra year (four rather than three) to reach a harvestable stage. For information on growing seeds, we have a video and an article. Search the OSU Extension publications catalog or news feed for more resources.
Do not harvest the spears the first spring of planting. They should be left to form “ferns,” which provide food for the plant. A few shoots can be harvested the second spring after planting, but only for a week or two. Leave the rest to feed developing roots. The third spring, after that, harvests spears until mid-June, then allows the fern to grow and keeps the root crown healthy.
Asparagus should be fertilized in the spring as spears emerge and again right after the last harvest in June for older plantings.
To harvest, grasp 5- to 8-inch-long spears at the base and bend them toward the ground. The spear will snap where it is free of fiber. Spears may also be cut with a knife, but do not damage the emerging spears. Quality deteriorates rapidly after harvest. If you can’t eat your asparagus immediately, refrigerate or process it.
Information on how to pickle asparagus is in the online OSU publication, PNW 355, “Pickling Vegetables.”
OSU recommends the following asparagus varieties for Oregon: Mary Washington, Jersey Knight, Jersey Giant, UC 157, Purple Passion, Sweet Purple, and Millennium.

Public Service Communications Specialist


Reader Comments(0)